- How do I use REST API plugin in WordPress?
- How do I fix REST API in WordPress?
- What is WP REST API?
- How do I find my WordPress API?
- Why is REST API used?
- What is an API plugin?
- How do I know if WordPress REST API is enabled?
- How do I disable REST API in WordPress?
- How do I fix error REST API encountered?
- How does WordPress REST API work?
- How does REST API work?
- How do I enable REST API?
How do I use REST API plugin in WordPress?
How to Start Using the WordPress REST API (In 3 Steps)
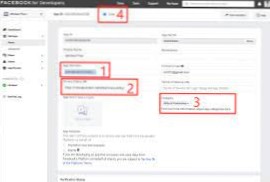
- Step 1: Access the REST API. You can 'access' the WordPress REST API from any application that can submit HTTP endpoints. ...
- Step 2: Fetch a Specific Post Using the REST API. ...
- Step 3: Add Metadata to a Specific Post.
How do I fix REST API in WordPress?
If you received an error, it means the WordPress Rest API is disabled. You can enable it by activating your permalinks in WordPress. Visit Settings ➜ Permalinks within WordPress and without making any changes click Save changes. This causes WordPress to flush its rewrite rules, and can often resolve issues like this.
What is WP REST API?
What is the WordPress REST API? The WordPress REST API is an interface that developers can use to access WordPress from outside the WordPress installation itself. You access it using JavaScript, which means it can be used to create interactive websites and apps.
How do I find my WordPress API?
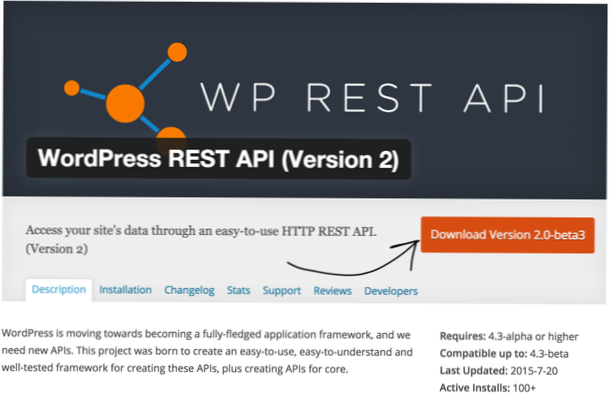
Installation Instructions
Go to https://wordpress.org/plugins/rest-api. Click the red Download button. This should download the latest version of the WP API plugin as a zip file. Then, login to your WordPress site (your-site-name.com/wp-login.php).
Why is REST API used?
One of the key advantages of REST APIs is that they provide a great deal of flexibility. Data is not tied to resources or methods, so REST can handle multiple types of calls, return different data formats and even change structurally with the correct implementation of hypermedia.
What is an API plugin?
An API basically defines how a component interacts with a system, facilitating the communication between them. Plugin: also called an extension, a plugin is a software component that makes it possible to modify an existing computer program or platform, for instance, adding new features to it.
How do I know if WordPress REST API is enabled?
Is the WordPress REST API enabled? The best way to check is to visit this URL: https://yoursite.com/wp-json. If you see some information which seems related to your WordPress REST API, it works. If you see something, it means that, at least, your WordPress REST API is enabled.
How do I disable REST API in WordPress?
You can do this from the WordPress admin dashboard of your website. Simply go to the plugins page and search it by name. Once the plugin has been installed and activated, click on Settings > Disable REST API to head over to the main settings page for the plugin.
How do I fix error REST API encountered?
The first thing to do is to update your WordPress to the latest version if not already done. Then if the problem is still there check your PHP version and try to increase your Server Memory Limits settings. Hello, I confirm this happens with WordPress (5.2), PHP version is 7.2.
How does WordPress REST API work?
It works by manipulating textual data from one place to another without direct access to a database or user interface. REST API is delivered via HyperText Transfer Protocol (HTTP) endpoints, using JavaScript Object Notation (JSON) formatting. These endpoints represent the posts, pages, and other WordPress data types.
How does REST API work?
A REST API works in a similar way. You search for something, and you get a list of results back from the service you're requesting from. ... The developer creates the API on the server and allows the client to talk to it. REST determines how the API looks like.
How do I enable REST API?
- Choose Administration > Security: REST API Access to display the REST API Access page.
- Under REST API Access Settings, select the Enable REST API Access check box.
- Click Apply to apply your changes to the running configuration.
- Click Save to Disk to save your settings permanently.